
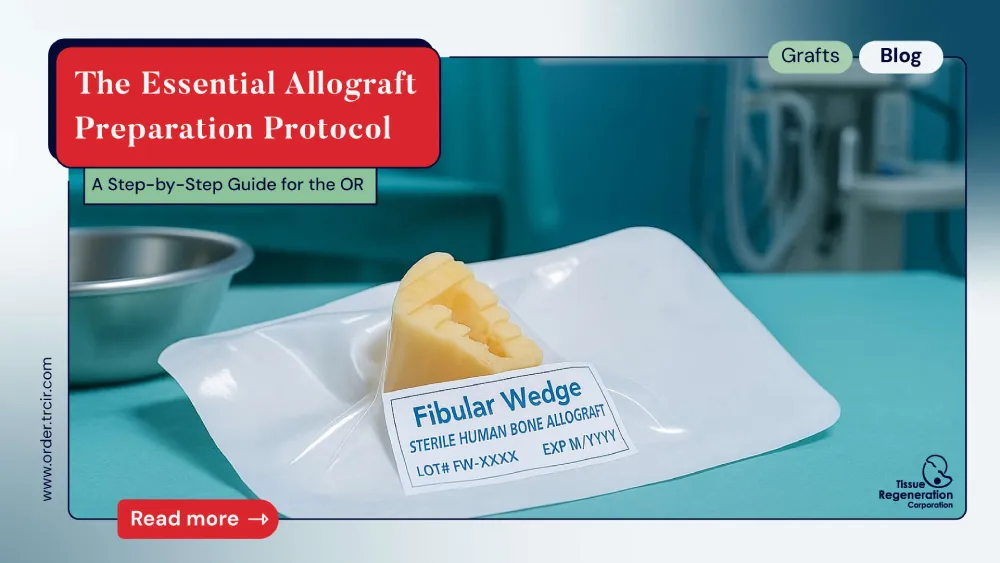
Introduction: The Critical Moments Before Implantation
The clinical success of a surgical procedure involving a human tissue allograft is the culmination of countless precise steps. While surgical skill and patient biology play definitive roles, the journey to a successful outcome begins with the meticulous execution of the allograft preparation protocol in the sterile core of the operating room (OR). Improper handling, from a minor breach in sterility to inadequate rehydration, can compromise the graft’s biomechanical integrity, nullify its biological potential, and jeopardize the entire procedure.
This comprehensive guide provides a detailed, evidence-based allograft preparation protocol for handling bone grafts and the critical rehydration of freeze-dried tissue. It is designed for the entire surgical team—surgeons, scrub technicians, and circulating nurses—to serve as a reference for best practices. Following a robust allograft preparation protocol is not merely a procedural formality; it is a fundamental pillar of patient safety and a crucial step toward achieving optimal clinical results.
The “Why”: The Critical Importance of a Meticulous Allograft Preparation Protocol
Understanding the scientific reasoning behind each step fosters a culture of precision. A lyophilized (freeze-dried) allograft is a sophisticated biomaterial, and its preparation demands respect for its biological and mechanical properties. This is the rationale behind a strict allograft preparation protocol.
1. Maintaining Sterility: The Unbreachable First Line of Defense
An allograft is avascular upon implantation and extremely vulnerable to contamination. A breach in the sterile field during preparation can introduce bacteria, leading to a deep surgical site infection—a catastrophic complication. Every step of the allograft preparation protocol must be executed with an unwavering commitment to aseptic technique.
2. Preserving Biomechanical and Structural Integrity
The lyophilization process preserves the intricate, porous microarchitecture of the tissue, which serves as an essential osteoconductive scaffold. Rough handling or using improper instruments can create microfractures within the graft, compromising the mechanical support needed for new bone formation.
3. Ensuring Optimal Biological Performance
Rehydration is a critical step that restores the graft’s physiological handling characteristics and prepares it to act as a sponge for the host’s blood, cells, and growth factors. Inadequate rehydration results in a suboptimal biological environment that can delay or prevent cellular integration and revascularization.
Phase 1: Pre-Operative Planning and Verification
The first phase of the allograft preparation protocol begins before the sterile packaging is even opened.
- 1.1. Confirming the Correct Graft: During the “surgical time-out,” the surgeon and OR team must verbally verify the patient’s identity, the procedure, and the specific allograft, cross-referencing its type, size, and laterality with the surgical plan.
- 1.2. Rigorous Package Inspection: The circulating nurse must carefully inspect the graft’s packaging for any tears, punctures, compromised seals, or signs of damage. The expiration date is non-negotiable; an expired graft must never be used.
- 1.3. Assembling Necessary Supplies: The scrub technician should prepare the necessary sterile supplies in advance: a sterile basin, the specified rehydration fluid (typically sterile saline), atraumatic forceps, and a sterile syringe if needed.
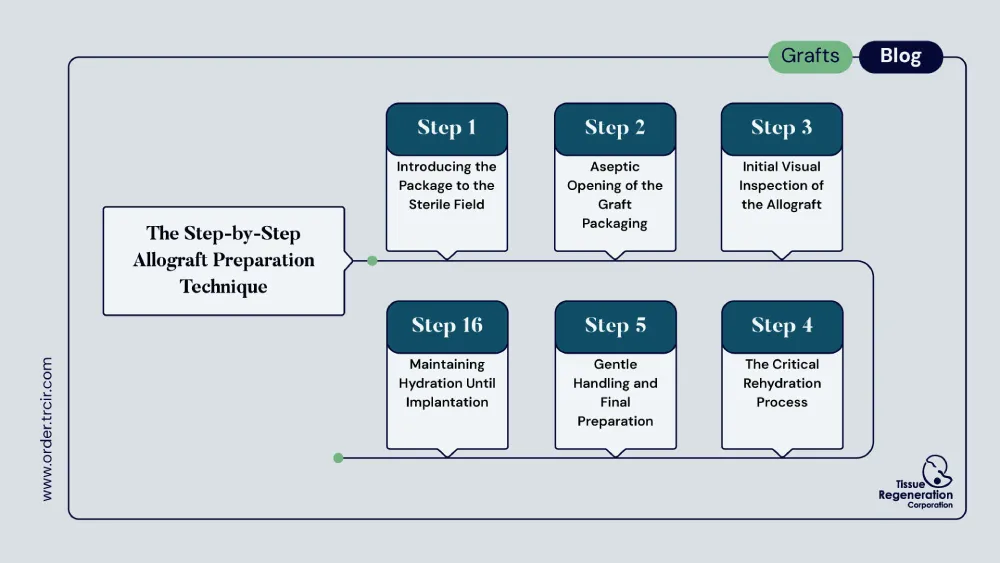
Phase 2: The Step-by-Step Allograft Preparation Technique
This is the hands-on section of the allograft preparation protocol, requiring focus and precision.
- Step 1: Introducing the Package to the Sterile Field: The circulating nurse opens the outer, non-sterile packaging and presents the inner, sterile pouch to the scrub technician, who places it securely on the sterile field.
- Step 2: Aseptic Opening of the Graft Packaging: The scrub technician carefully opens the inner sterile pouch(es) to reveal the final container holding the graft, which is then placed in the sterile basin.
- Step 3: Initial Visual Inspection of the Allograft: Once opened, the surgeon and/or scrub technician should perform a brief visual inspection of the graft, ensuring it matches the label and shows no signs of abnormality.
- Step 4: The Critical Rehydration Process: This is the most time-sensitive and biologically important step in the allograft preparation protocol.
- Choosing the Rehydration Fluid: While sterile isotonic saline is standard, the surgeon may request other fluids like Bone Marrow Aspirate (BMA) or the patient’s blood to add an osteogenic component.
- The Rehydration Protocol: The graft should be fully submerged in the chosen fluid. Do not rush this step. Always defer to the manufacturer’s specific Instructions for Use (IFU), which provides the validated rehydration time. Adherence to the company’s IFU for its freeze-dried bone products is mandatory.
- Aspiration Technique for Particulates: For particulate grafts, a sterile syringe can be used to gently aspirate fluid into the material, ensuring complete hydration.
- Step 5: Gentle Handling and Final Preparation: Once fully rehydrated, handle the graft exclusively with smooth, atraumatic forceps. If shaping is needed, use a high-speed, low-torque burr with copious sterile irrigation to avoid creating microfractures.
- Step 6: Maintaining Hydration Until Implantation: The graft must be kept moist on a saline-soaked gauze until the moment of implantation. Allowing it to dry out will reverse the benefits of rehydration.
Phase 3: Meticulous Documentation and Traceability
This final step of the allograft preparation protocol is critical for patient safety and regulatory compliance.
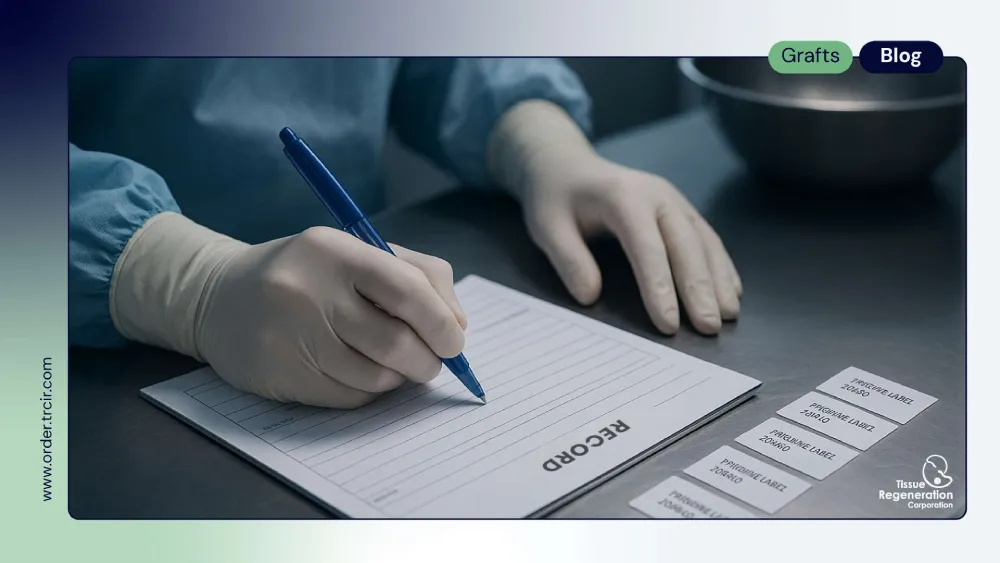
- The scrub technician must pass the peel-off tracking labels from the packaging to the circulating nurse.
- The circulating nurse is responsible for affixing these labels to the patient’s permanent medical record and the hospital’s internal implant log. This creates an unbroken chain of traceability from the donor to the recipient.
Conclusion: Precision as a Pillar of Surgical Success
The final stage of an allograft’s journey—its preparation in the operating room—demands respect and precision. By adhering to a strict allograft preparation protocol of Verification, Aseptic Handling, Thorough Rehydration, Gentle Manipulation, and Meticulous Documentation, the surgical team acts as the final guardian of the graft’s potential. Mastering this technique is a non-negotiable component of modern OR best practices, directly contributing to safer procedures and superior patient outcomes.
References
- Aseptic Technique in the Operating Room:
- Source: Association of periOperative Registered Nurses (AORN). (2022). Guidelines for Perioperative Practice. Guideline for sterile technique.
- Link: https://www.aorn.org/guidelines-resources/guidelines-for-perioperative-practice (Link to the general guidelines page as specific documents are often behind a paywall).
- Relevance: AORN provides the gold standard guidelines for maintaining a sterile field in the OR, which is the foundational principle of allograft handling.
- Tissue Banking Standards for Handling and Traceability:
- Source: American Association of Tissue Banks (AATB). (2022). Standards for Tissue Banking.
- Link: https://www.aatb.org/standards
- Relevance: The AATB sets the standards that accredited tissue banks follow. Their guidelines extend to the proper handling, tracking, and documentation required by the end-user (the hospital), supporting the importance of the documentation phase.
- Biomechanical Effects of Handling and Hydration:
- Source: Hamer, A. J., et al. (1999). The effect of sterilization and storage on the mechanical properties of bone allografts. The Bone & Joint Journal, 81(5), 913-916.
- Link: https://online.boneandjoint.org.uk/doi/abs/10.1302/0301-620X.81B5.9388
- Relevance: This study, though older, highlights how different processing and handling steps (including hydration) can impact the mechanical properties of allografts, underscoring the importance of a proper protocol.
- Clinical Rationale for Graft Preparation:
- Source: Russell, T. A., & Leighton, R. K. (2008). Bone grafting: a practical consideration of the biology and clinical application. Orthopedic Clinics, 39(4), 435-442.
- Link: https://pubmed.ncbi.nlm.nih.gov/18803960/
- Relevance: This clinical review discusses the practical aspects of bone grafting, including the importance of preparing the graft to serve as a biological scaffold, which supports the “Why” section of the article.
- Implant Traceability and Patient Safety:
- Source: U.S. Food & Drug Administration (FDA). 21 CFR Part 1271. Human Cells, Tissues, and Cellular and Tissue-Based Products.
- Link: https://www.accessdata.fda.gov/scripts/cdrh/cfdocs/cfcfr/CFRSearch.cfm?CFRPart=1271
- Relevance: This is the specific U.S. federal regulation governing human tissues. It mandates the strict tracking and documentation protocols discussed in the article, providing a strong regulatory basis for those recommendations.