
This article presents an evidence-based and practical protocol for the proper handling and rehydration of human tissue allografts in the operating room (OR). It aims to promote standardization, preserve graft integrity, and enhance clinical outcomes by emphasizing sterility, biomechanical preservation, and precise rehydration procedures. Following these principles ensures optimal biological performance and patient safety.
Introduction: Why Allograft Preparation is Critical for Surgical Success
The clinical success of any surgical procedure involving a human tissue allograft is the culmination of countless precise steps. While surgical skill and patient biology play definitive roles, the journey to a successful outcome begins long before the graft is implanted. It starts in the sterile core of the operating room (OR) with the meticulous preparation of the allograft itself. Improper handling, from a minor breach in sterility to inadequate rehydration, may compromise the graft’s biomechanical integrity, nullify its biological potential, and jeopardize the entire procedure.
This article presents a detailed, evidence-based protocol for the handling of bone grafts and the critical rehydration of freeze-dried tissue. It is intended for the entire surgical team—surgeons, scrub technicians, and circulating nurses—to serve as a reference for operating room best practices. Adherence to a standardized allograft preparation technique is not merely a procedural formality; it is a fundamental pillar of patient safety and a crucial step in honoring the gift of donation to achieve optimal clinical results.
The Critical Importance of a Meticulous Allograft Protocol
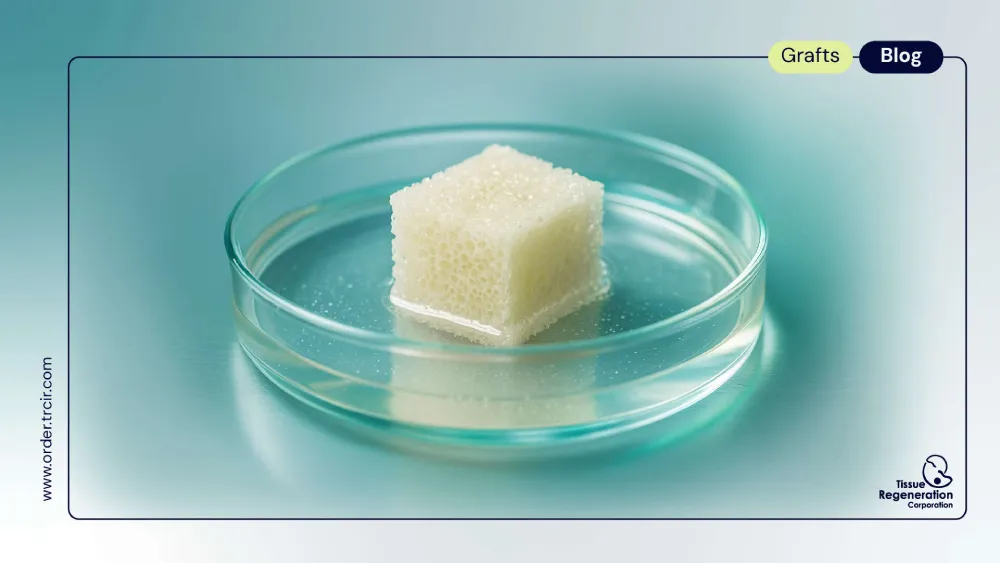
Comprehending the underlying scientific rationale behind each step fosters a culture of precision and care in the OR. A lyophilized (freeze-dried) allograft is a sophisticated biomaterial, and its preparation demands respect for its biological and mechanical properties.
1. Maintaining Sterility: The Unbreachable First Line of Defense
An allograft is avascular upon implantation, meaning it has no initial blood supply to help it fight off microorganisms. It is, therefore, extremely vulnerable to contamination. A breach in the sterile field during preparation may introduce bacteria, leading to a deep surgical site infection, which is a catastrophic complication that may result in graft failure, prolonged hospitalization, and significant patient morbidity. Every step of the handling process should be executed with an unwavering commitment to aseptic technique.
2. Preserving Biomechanical and Structural Integrity
The lyophilization process is designed to perfectly preserve the intricate, porous microarchitecture of the tissue, which serves as an essential osteoconductive scaffold. This delicate structure, especially in its dry state, may be surprisingly fragile. Rough handling, using crushing instruments like toothed forceps, or aggressive shaping with improper tools may create microfractures within the graft. A structurally compromised scaffold will not provide the necessary mechanical support and may impair the process of cellular infiltration and new bone formation.
3. Ensuring Optimal Biological Performance via Rehydration
The rehydration of freeze-dried tissue is far more than simply making it wet. This critical step restores the graft’s physiological handling characteristics and prepares its porous structure to act as a sponge for the host’s blood, cells, and growth factors. Inadequate rehydration results in a brittle, difficult-to-handle graft and, more importantly, a suboptimal biological environment that may delay or prevent cellular integration and revascularization, which are essential for the graft’s success.
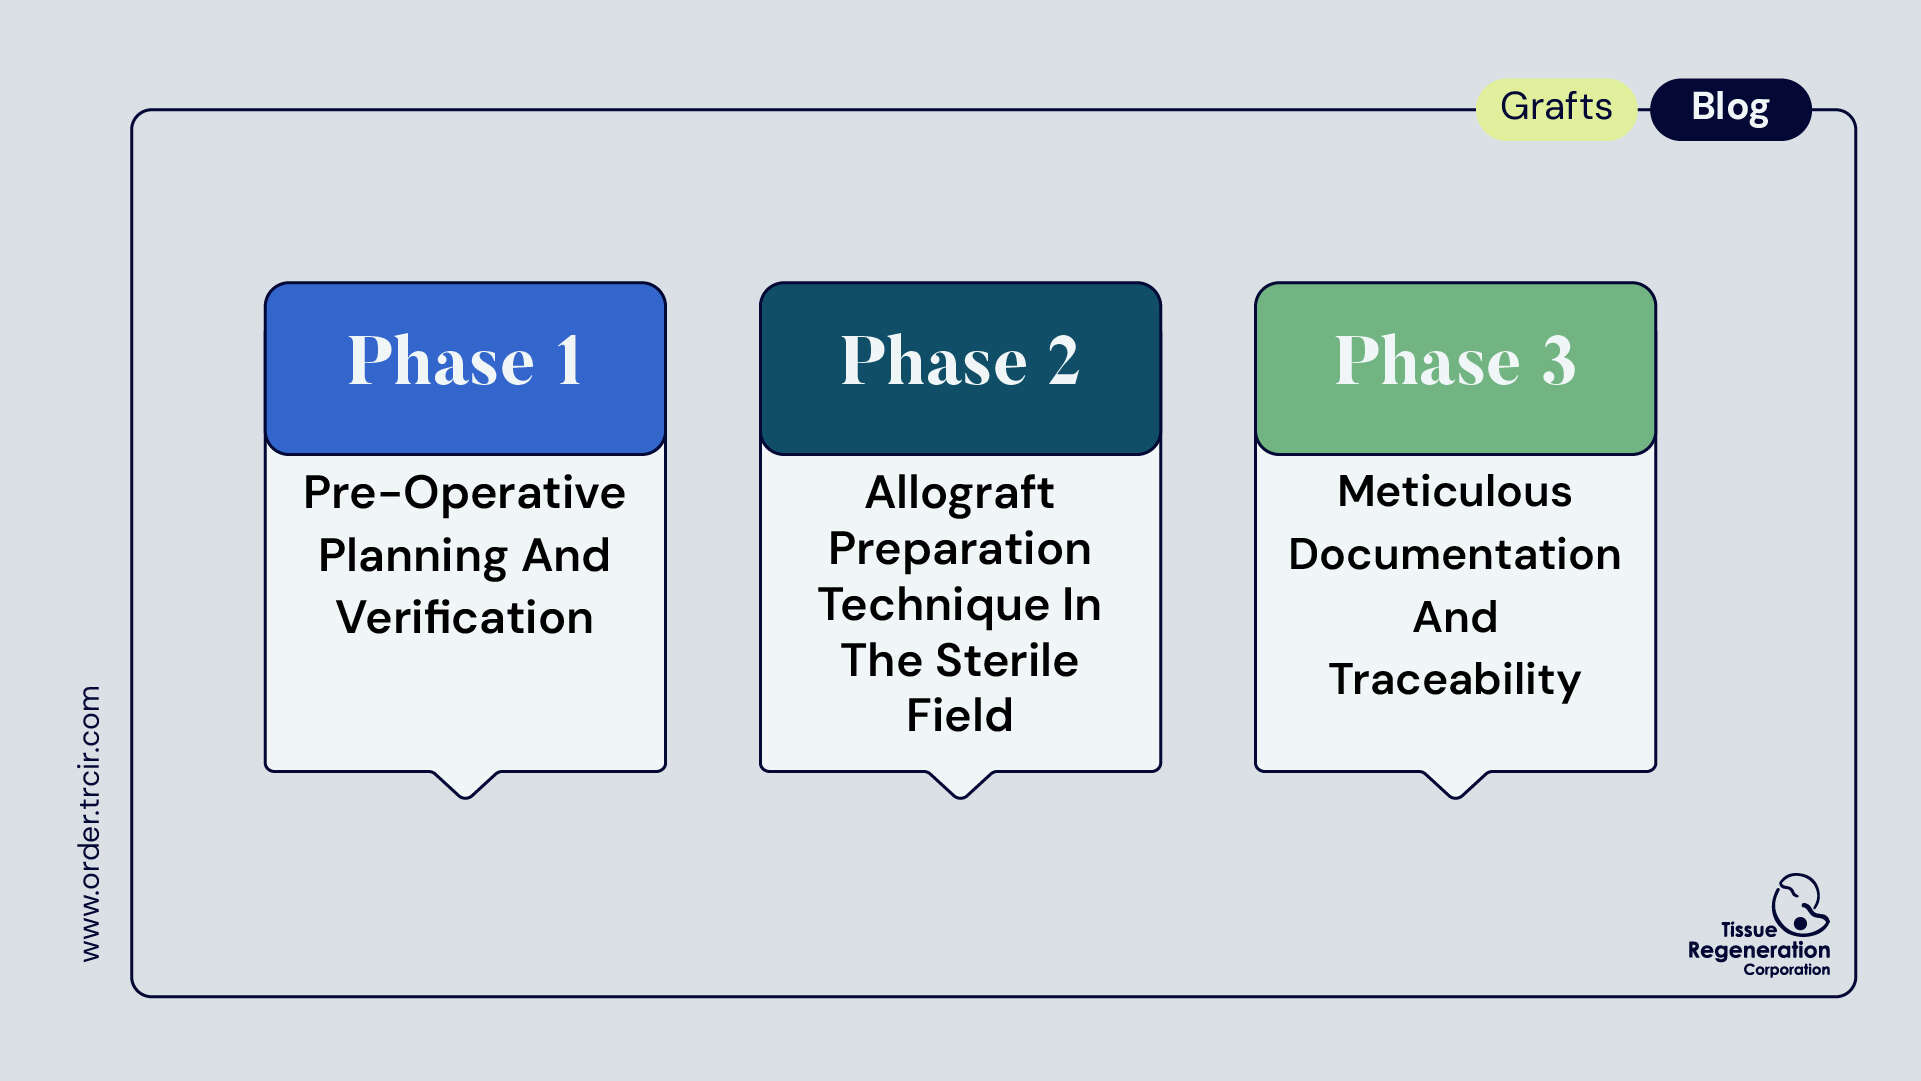
Phase 1: Pre-Operative Allograft Planning and Verification
Meticulous preparation begins before the sterile packaging is even opened.
1.1. Confirming the Correct Graft and Surgical Plan
During the pre-operative briefing or the “surgical time-out,” the graft should be verbally confirmed. The surgeon and OR team must verify the patient’s identity, the surgical procedure, and the specific allograft to be used, cross-referencing its type (e.g., FDBA particulate, cortical strut), size, and laterality (if applicable) with the surgical plan.
1.2. Rigorous Package Inspection for Sterility and Expiration
The circulating nurse must carefully inspect the graft’s packaging in a well-lit area before introducing it to the sterile field. Look for:
- Intact Packaging: Ensure there are no tears, punctures, or signs of damage to the outer box or inner pouches.
- Seal Integrity: Verify that all seals are intact and have not been compromised.
- Expiration Date: This is non-negotiable. Locate the expiration date on the label and confirm it has not passed. An expired graft must never be used and should be returned to the tissue bank immediately.
1.3. Assembling Sterile Supplies for Rehydration
The scrub technician must anticipate the need for the graft and prepare the necessary sterile supplies on the back table in advance. This includes:
- A sterile basin or bowl of appropriate size.
- A sterile container of the specified rehydration fluid (typically 0.9% sodium chloride, i.e., sterile saline).
- Atraumatic forceps (e.g., DeBakey forceps).
- A sterile syringe for aspiration (if preparing particulate grafts).
Phase 2: Step-by-Step Allograft Handling and Rehydration Protocol
This is the hands-on protocol that requires focus and precision from the scrubbed members of the surgical team.
Step 1: Introducing the Package to the Sterile Field
The circulating nurse, having inspected the package, must open the outer, non-sterile packaging (e.g., the cardboard box and any outer plastic wrap). They will then present the inner, sterile pouch to the scrub technician, who will grasp it and place it securely on the sterile field. This transfer should be performed without the scrub technician touching any non-sterile surfaces and without the circulating nurse touching the sterile pouch itself.
Step 2: Aseptic Opening of the Graft Packaging
The scrub technician must carefully open the inner sterile pouch at the designated peel-apart location. Many allografts are double- or even triple-pouched. Each layer should be opened carefully to reveal the final container (often a sterile vial or jar) holding the graft. This container should be placed in the sterile basin.
Step 3: Initial Visual Inspection of the Allograft
Once the final container is opened, the surgeon and/or scrub technician must perform a brief visual inspection of the graft itself. They must note its color, shape, and overall integrity, ensuring it matches the description on the label and shows no signs of abnormality.
Step 4: The Critical Allograft Rehydration Process
This is the most time-sensitive and biologically important step.
- Choosing the Rehydration Fluid: While sterile isotonic saline is the standard, the surgeon may request other fluids. Bone Marrow Aspirate (BMA) is frequently used to soak the graft, adding a powerful osteogenic and osteoinductive component. Patient’s blood may also be used.
- The Rehydration Protocol: The allograft should be fully submerged in the chosen fluid within the sterile basin. This step should be conducted without haste. The necessary time for full rehydration depends on the graft’s size and density. While many particulate grafts rehydrate in 5-10 minutes, large cortical-cancellous blocks may require 20-30 minutes or more. Always defer to the manufacturer’s specific Instructions for Use (IFU), which provides the validated rehydration time.
- Aspiration Technique for Particulates: For particulate or putty grafts, passive soaking may not be enough. To ensure every granule is hydrated, the surgeon or technician may use a sterile syringe to slowly aspirate the fluid into the graft material, mixing it gently to create a consistent, hydrated composite.
Step 5: Gentle Handling and Final Preparation
Once fully rehydrated, the graft’s handling properties are restored.
- Use Atraumatic Instruments: Handle the graft exclusively with smooth, atraumatic forceps. Never use instruments with teeth (like Kocher clamps) or Allis clamps, as these will crush and destroy the graft’s delicate architecture.
- Shaping the Graft: If the graft needs to be contoured to fit the defect site, use a high-speed, low-torque burr with copious sterile irrigation. Avoid using mallets, osteotomes, or ronguers on large structural allografts, as this may create invisible microfractures that compromise its strength.
Step 6: Maintaining Hydration Until Implantation
From the moment rehydration is complete until the moment of implantation, the graft should be kept moist. Place it on a saline-soaked piece of gauze in the sterile basin. Allowing the graft to dry out on the back table will reverse the benefits of rehydration and make it brittle again.
Phase 3: Meticulous Documentation and Allograft Traceability
This final step is critical for patient safety and regulatory compliance. Allograft packaging contains multiple peel-off labels with critical tracking information, including the donor ID, tissue type, size, and expiration date. These labels are part of a federally regulated tracking system.
- The scrub technician must pass these labels off the sterile field to the circulating nurse.
- The circulating nurse is responsible for ensuring these labels are affixed to:
- The patient’s permanent medical record/chart.
- The hospital’s internal implant log.
- Any other facility-required documentation.
This ensures an unbroken chain of traceability from the donor to the recipient, which is essential for long-term patient follow-up and in the extremely rare event of a recall.
Conclusion: Precision Allograft Preparation is a Pillar of Surgical Success
The lifecycle of an allograft is a testament to generosity and scientific advancement. The final, critical stage of that journey—its preparation in the operating room—demands a level of respect and precision commensurate with the gift it represents. Through adherence to a strict protocol of Verification, Aseptic Handling, Thorough Rehydration, Gentle Manipulation, and Meticulous Documentation, the surgical team acts as the final guardian of the graft’s potential. Mastering this allograft preparation technique is a non-negotiable component of modern operating room best practices, which directly contributes to safer procedures and superior patient outcomes.